By Kumaran | October 5, 2019
With Azure Functions, creating background jobs has become much easier. Azure Function provides different types of triggers like HTTP, Timer, Event Grid ETC. with a variety of input and output bindings like Blob storage, Cosmos DB, Webhook, SendGrid, ETC. as explained further in Azure Functions Triggers and Binding.
I had a scenario where I had to generate a weekly report and store the data in an excel file format in a centralized location and we wanted to send an email notification when the file was uploaded. I chose a Timer trigger-based azure function to create our report. I thought of uploading the file to Sharepoint via Graph API from function and finally send out an email notification. But integrating with Graph API was a difficult approach because we had to identify the exact folder in Sharepoint and then it also had a file size limit in upload functionality. In addition to that, we had to create an app and set up with the required privileges in the Azure portal.
Upon searching for easier options, I found out that Microsoft Flow could do most of my job in a few clicks without writing any code. This is the approach I finalized upon
- Create the report and save the data in Blob storage
- Copy the data to Sharepoint using Microsoft Flow
- Send an email using Microsoft Flow
Create Azure function to generate the report
public class ReportRunner
{
    private readonly IConfiguration configuration;

    public ReportRunner(IConfiguration configuration)
    {
        configuration = configuration;
    }

    [FunctionName("ReportRunner")]
    public async void Run([TimerTrigger("0 30 9 * * Sun")]TimerInfo timer, ILogger logger)
    {
        // Code to initialize Blob storage client
        var blobClient = CloudStorageAccount.Parse(configuration["StorageKey"]).CreateCloudBlobClient();
        var blobContainer = blobClient.GetContainerReference(configuration["ContainerName"]);

        if (!await blobContainer.ExistsAsync())
            await blobContainer.CreateIfNotExistsAsync();

        // Code to write data to Blob storage
        var content = "test data";
        var blob = blobContainer.GetBlockBlobReference("testfile");
        await blob.UploadTextAsync(content);
    }
}
To inject IConfiguration into your function, create a Startup class. In this, we can also register any of our custom components.
using Microsoft.Azure.Functions.Extensions.DependencyInjection;

[assembly: FunctionsStartup(typeof(ReportRunner.Job.Startup))]

namespace ReportRunner.Job
{
    public class Startup : FunctionsStartup
    {
        public override void Configure(IFunctionsHostBuilder builder)
        {
        }
    }
}
Create a Flow to copy data to Sharepoint
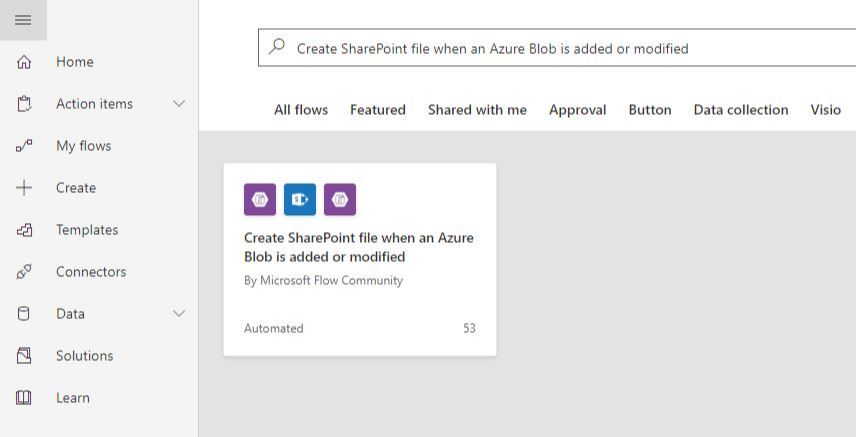
Visit the Microsoft Flow portal, then create a new flow. Search for “Create SharePoint file when an Azure Blob is added or modified” template.
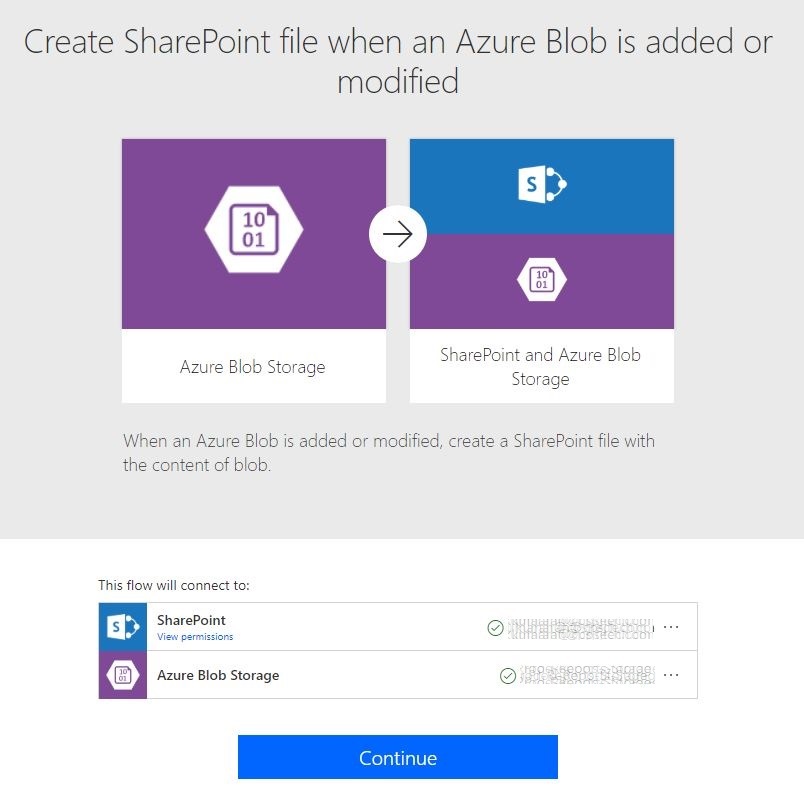
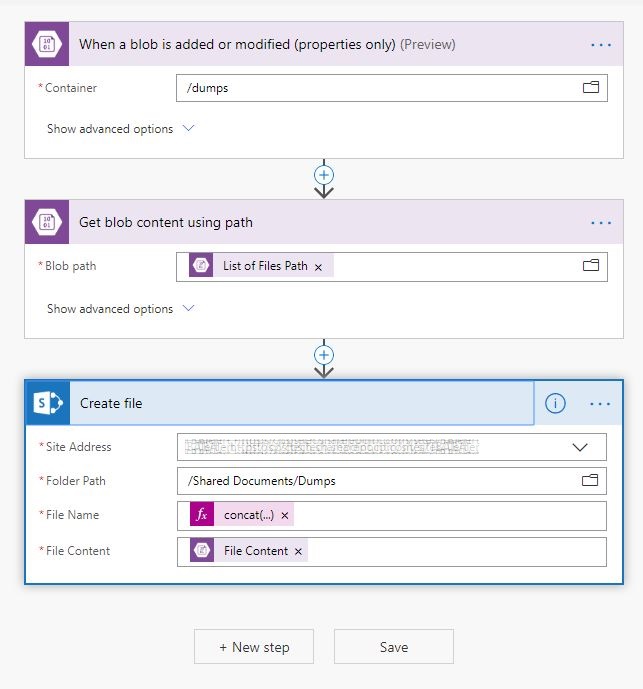
Click on the template and complete the setup process as shown in the below images. First, We will have to set up the connection to the Sharepoint site as well as the Blob storage. Followed by the flow setup.
Step 1: (When a blob is added or modified), select your container.
Step 2: Set Blob path as List of File Path
Step 3: Select your Sharepoint site address followed by the folder where you want to save the files. For File Name, we can dynamically set it. Flow provides a lot of inbuilt functions for this.
Save the flow. There’s a Flow Checker button on the top right corner to validate the flow. We can also test it using the Test button. Once done, run your azure function and then in a few minutes, you will find the file in Sharepoint.
Create a Flow to send an email
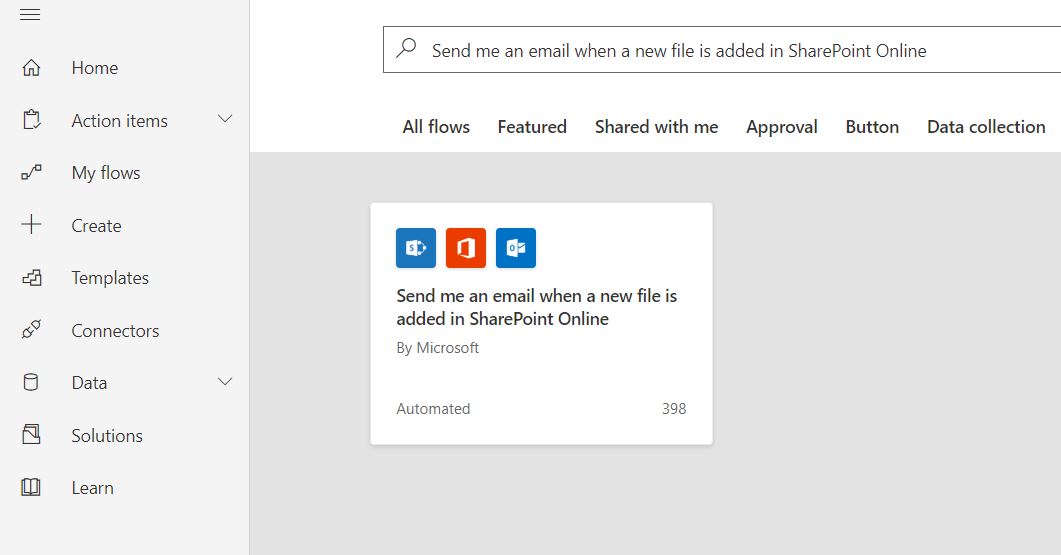
Search for “Send me an email when a new file is added in SharePoint Online” template.
As we did for the above flow, set up the required connection.
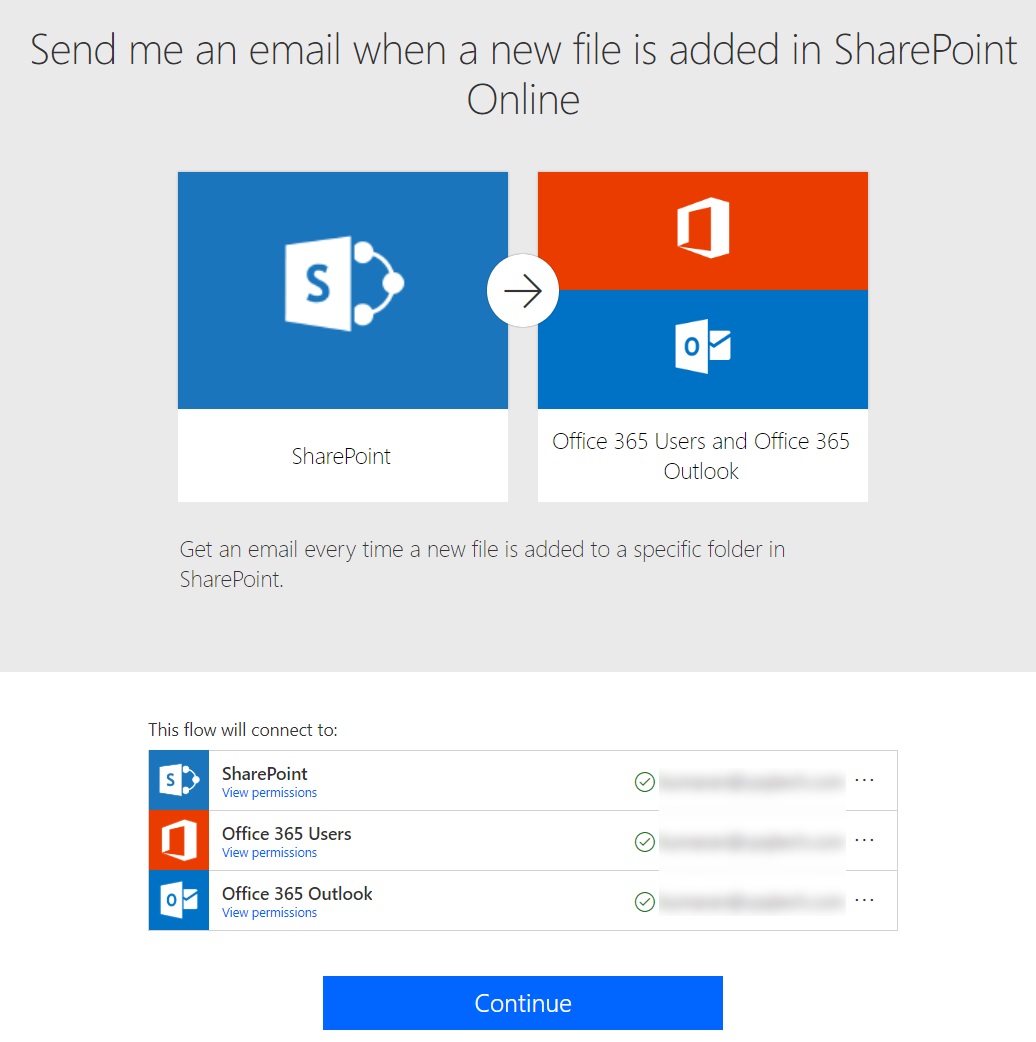
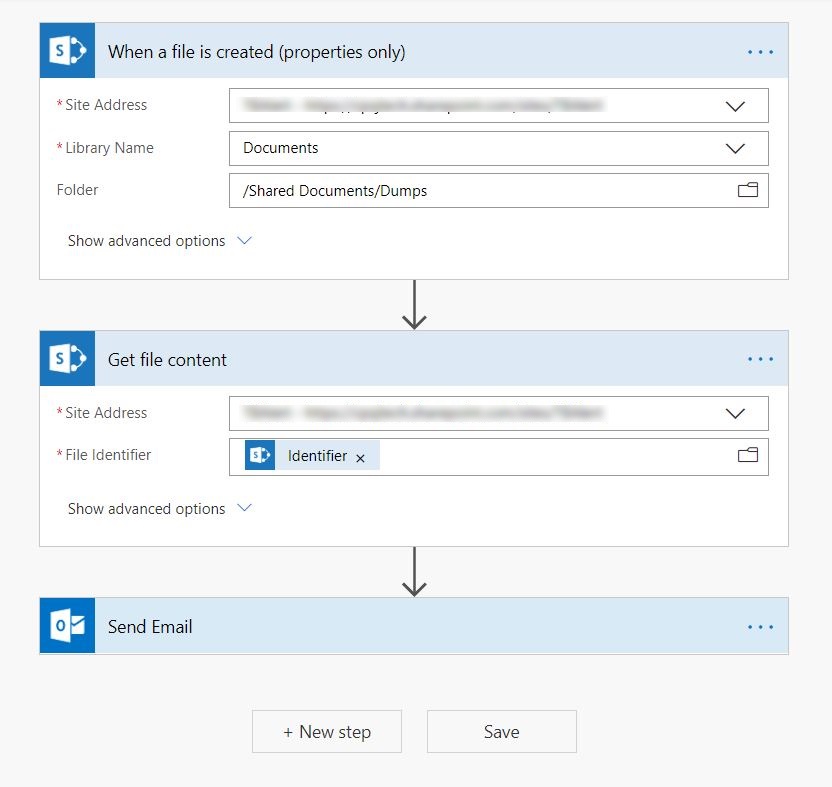
In this particular scenario, I don’t need to know about the sender profile. So I’ve removed the Office 365 step and Instead added Get File content step from the Sharepoint category because I wanted to attach the file in the email itself.
Setup Sharepoint site details in both the steps.
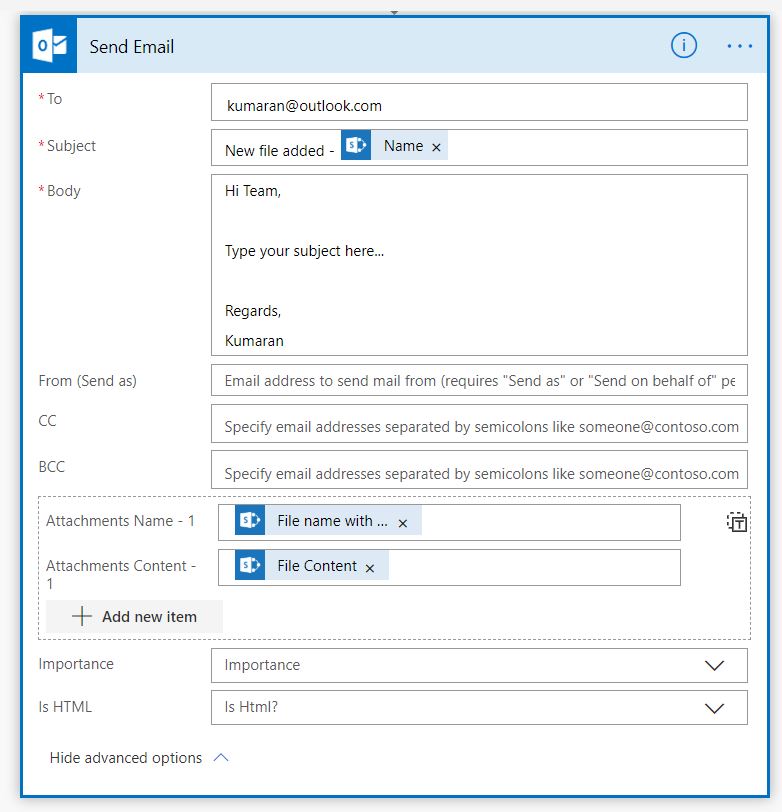
We can now edit the email template. We can also add attachments to the email.
Once we are done with everything, we can validate the flow and also test it. These flows can be turned off whenever we want. If we have created a new customized flow, we can submit as a template.


